
Let’s face it: with new flagship smartphones costing a fortune in 2026, buying a second-hand device is the smartest way to upgrade your tech without emptying your wallet. However, the used phone market is a minefield of stolen devices, hidden water damage, and cheap replacement parts.
If you are meeting a seller to buy a used phone, you need to know exactly what to look for. Here at Pariganaka.com, we have put together the ultimate 5-step checklist you must complete before handing over your hard-earned cash.
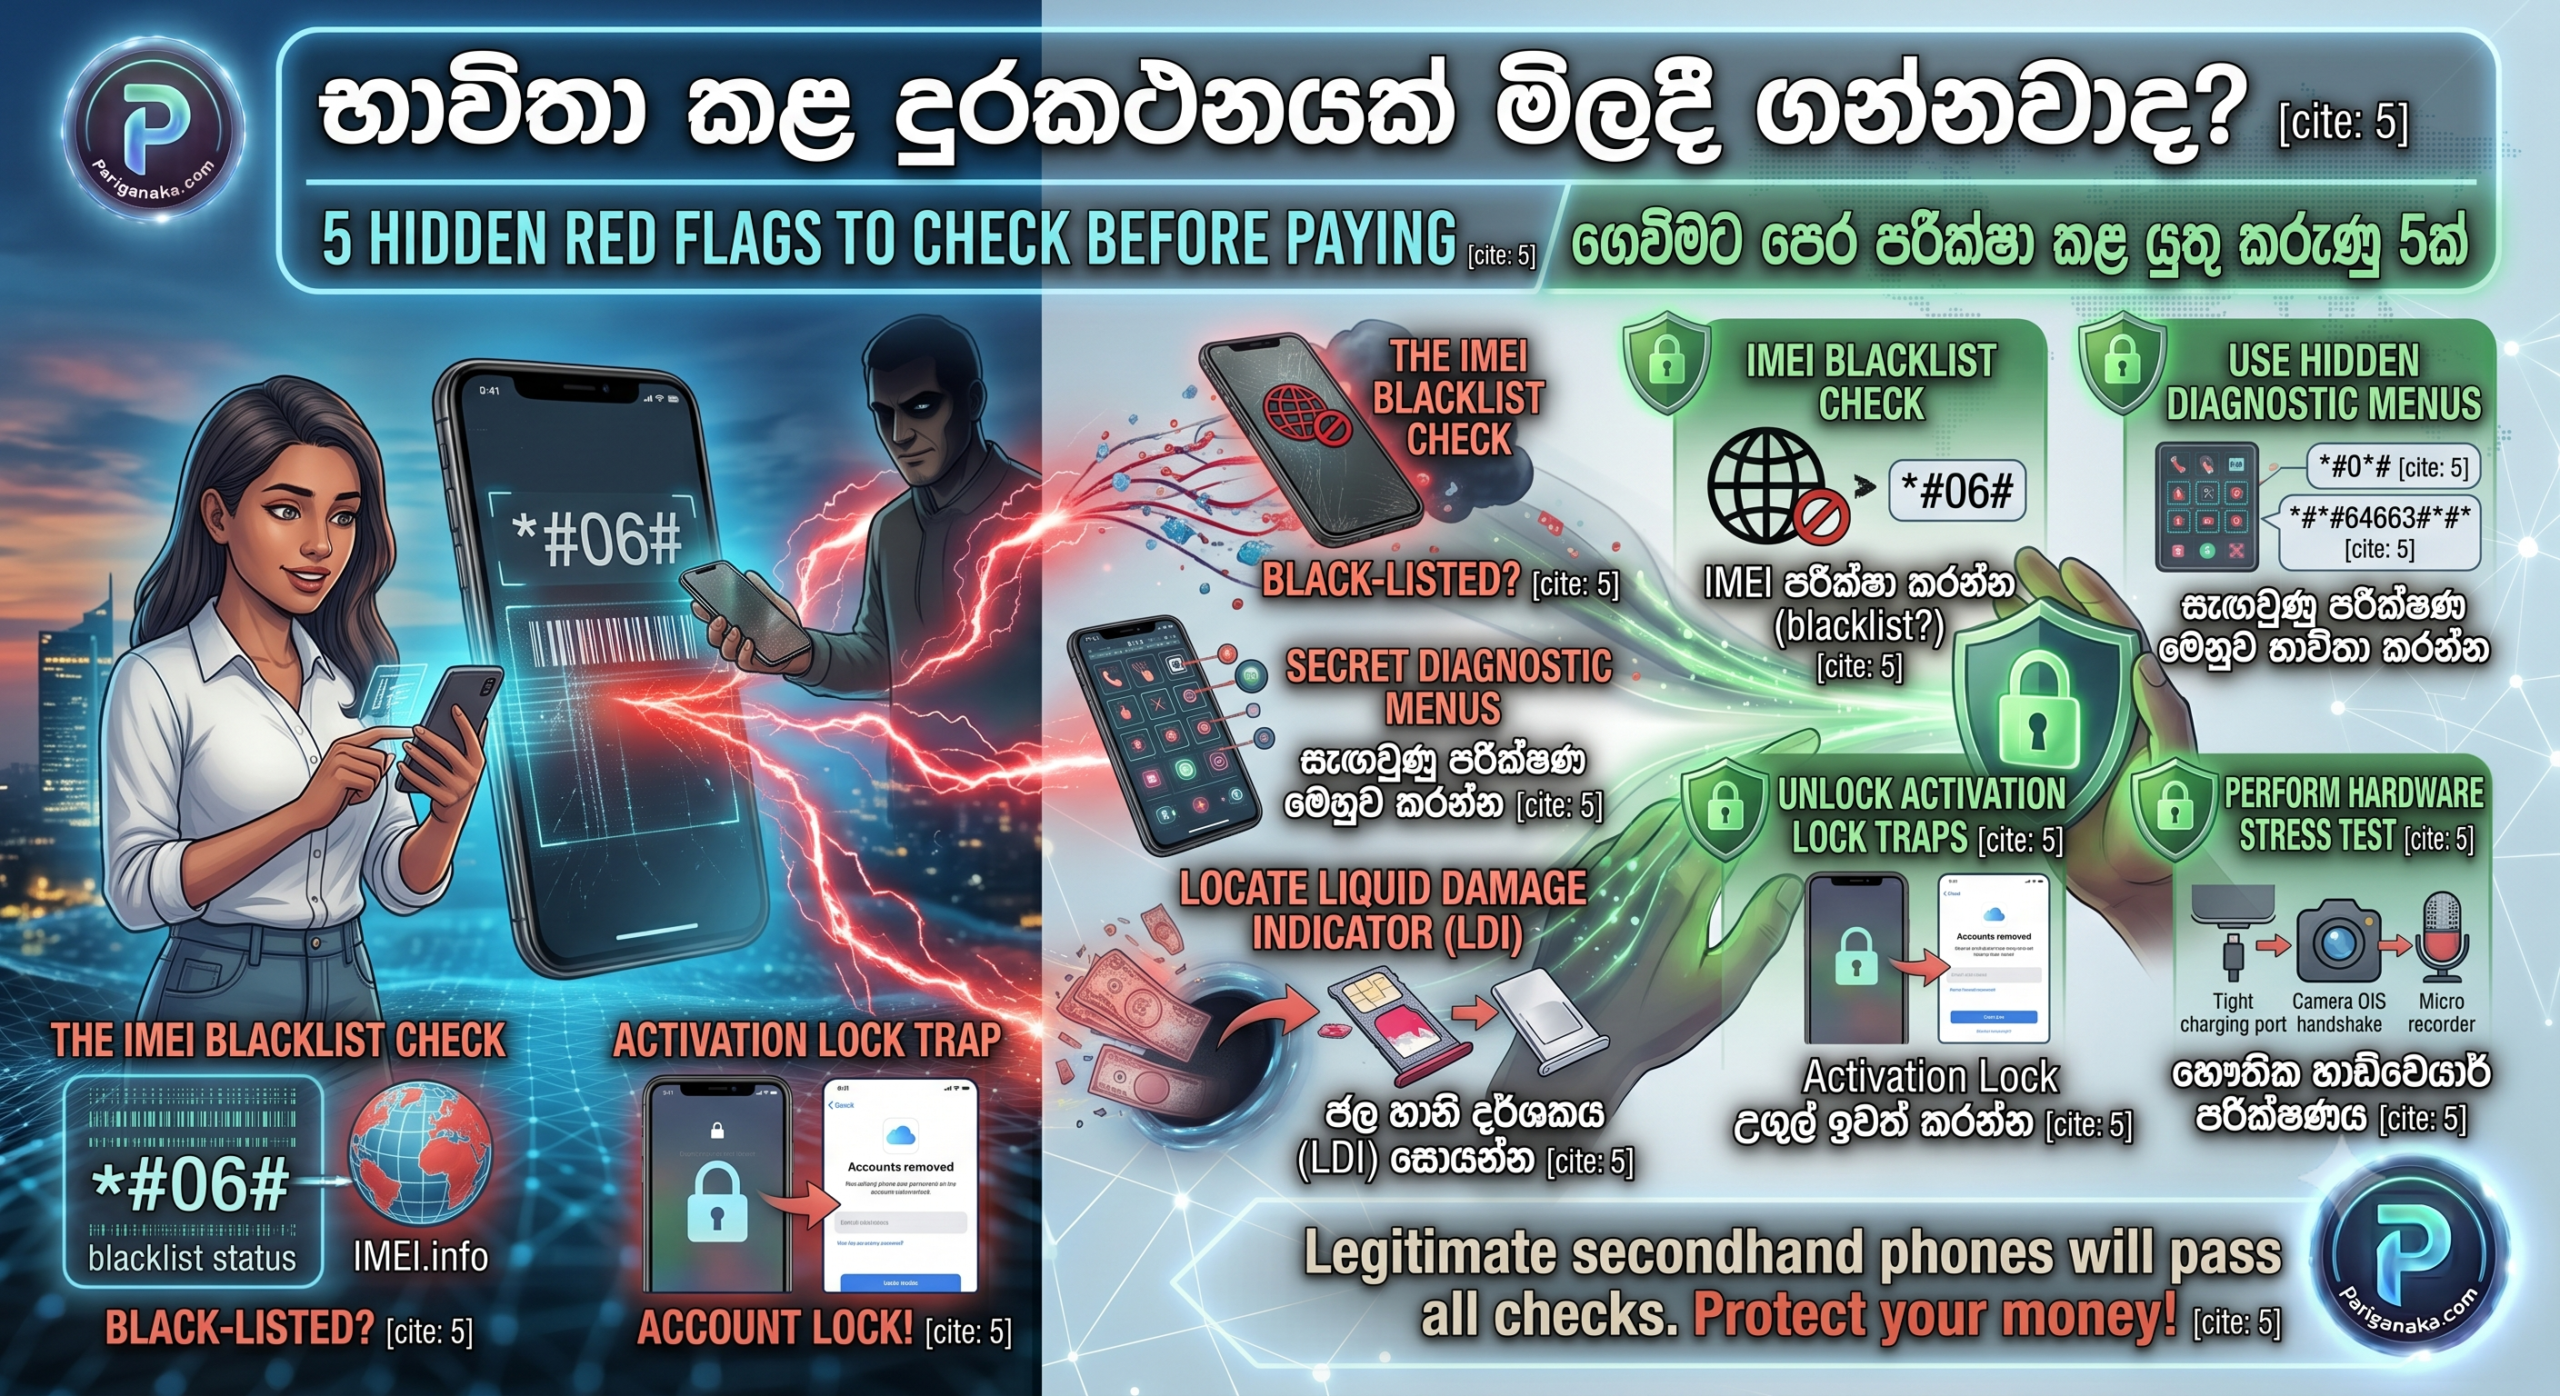
1. The IMEI Check (Is it Stolen?)
Never buy a phone without checking its digital fingerprint. If a phone was reported stolen, the network providers might blacklist it, meaning it will never connect to a cellular network.
- How to check: Open the phone’s dialer and type
*#06#. A 15-digit IMEI number will pop up on the screen. - The Verification: Make sure this number exactly matches the IMEI printed on the back of the phone’s original box (if they have it). You can also type this number into a free online IMEI checker (like IMEI.info) to ensure the device is not blacklisted or reported lost.
2. The “Secret” Diagnostic Menus
A phone might look perfect on the outside, but the internal sensors could be completely dead. Thankfully, developers built hidden menus to test everything.
- For Android (Samsung/Xiaomi): Open the dialer and type
*#0*#(for Samsung) or*#*#64663#*#*(for Xiaomi). This opens a hidden diagnostic screen where you can test the touchscreen for dead zones, check the vibration motor, and test all the camera lenses. - For iPhone: Go to Settings > General > About. Look for the Parts and Service History section. Apple will tell you right there if the screen, battery, or camera has been replaced with an unauthentic, cheap third-party part.
3. The Hidden Water Damage Sticker (LDI)
A seller might swear the phone has never been dropped in water, but smartphones do not lie. Almost all modern phones have a Liquid Damage Indicator (LDI) hidden inside.
- How to check: Pop out the SIM card tray and look inside the slot with a flashlight. You will see a tiny sticker.
- The Verdict: If the sticker is White or Silver, the phone is safe. If the sticker is Solid Red or Pink, the phone has suffered severe liquid damage. Hand it back to the seller and walk away immediately, as the internal motherboard will likely fail soon.
4. The Activation Lock Trap (FRP/iCloud)
This is the most common way people end up buying a highly expensive “paperweight.”
- The Danger: Both Apple and Google have strict anti-theft locks (iCloud Lock and Factory Reset Protection). If the previous owner resets the phone without signing out of their account first, the phone will ask for their password when you try to set it up.
- The Fix: Never buy a phone that is already sitting on the “Hello” or “Welcome” setup screen unless you activate it with your own SIM card and Wi-Fi right there in front of the seller. Make sure they have completely removed their Apple ID or Google Account from the settings before they wipe it.
5. The Physical Stress Test
Finally, do not let the seller rush you. Take five minutes to do a physical hardware check.
- Charging Port: Plug it into a power bank. Does the cable sit firmly, or is it loose and wobbly? A loose port will cost you money to fix.
- Cameras: Open the camera app and physically shake the phone slightly. If the camera cannot focus or makes a loud buzzing noise, the optical image stabilizer (OIS) is broken.
- Microphone: Record a quick 10-second video of yourself talking, and then play it back at full volume to test both the microphone and the loudspeakers.
The Bottom Line: When buying a used phone, patience is your best friend. Always meet in a safe, well-lit public place, run through these five checks, and never let a seller pressure you into a quick sale.
Stay tuned to Pariganaka.com for more smart tech buying guides!
Leave a Reply